


How to Install Shower Window Trim Kits
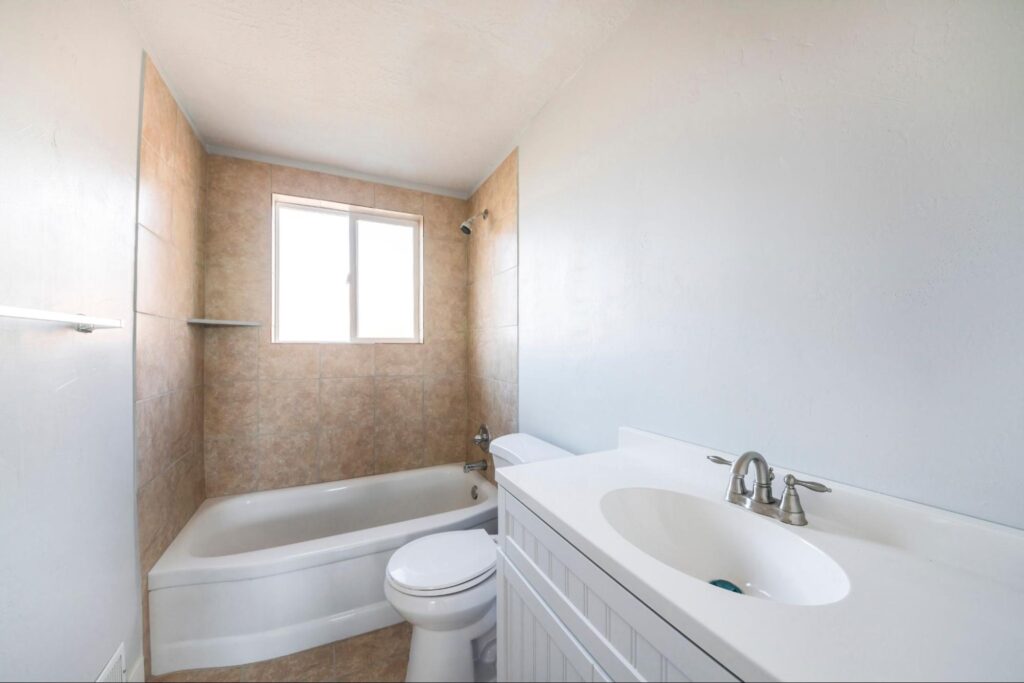
A shower window can add natural light and ventilation to a bathroom, but it also requires proper waterproofing to prevent moisture damage. A well-installed shower window trim kit helps protect the window opening while creating a clean, finished look that blends seamlessly with your shower walls.
Although some homeowners attempt DIY installation, proper measuring, sealing, and waterproofing are essential for long-term performance. For the best results, professional installation with American Bath Enterprises Shower Window Trim Kits is often the most reliable choice.
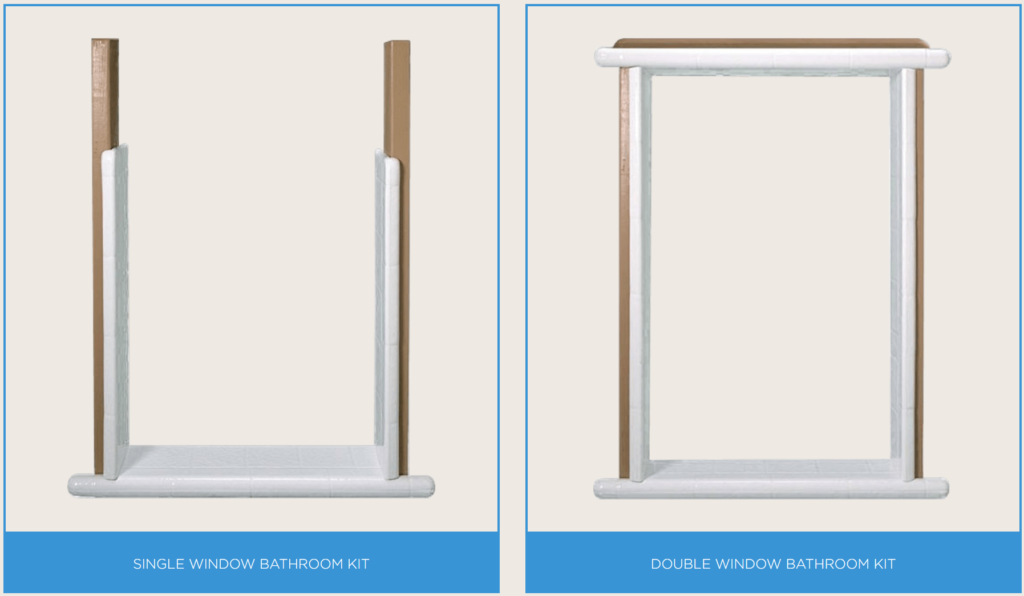
What Is a Shower Window Trim Kit?
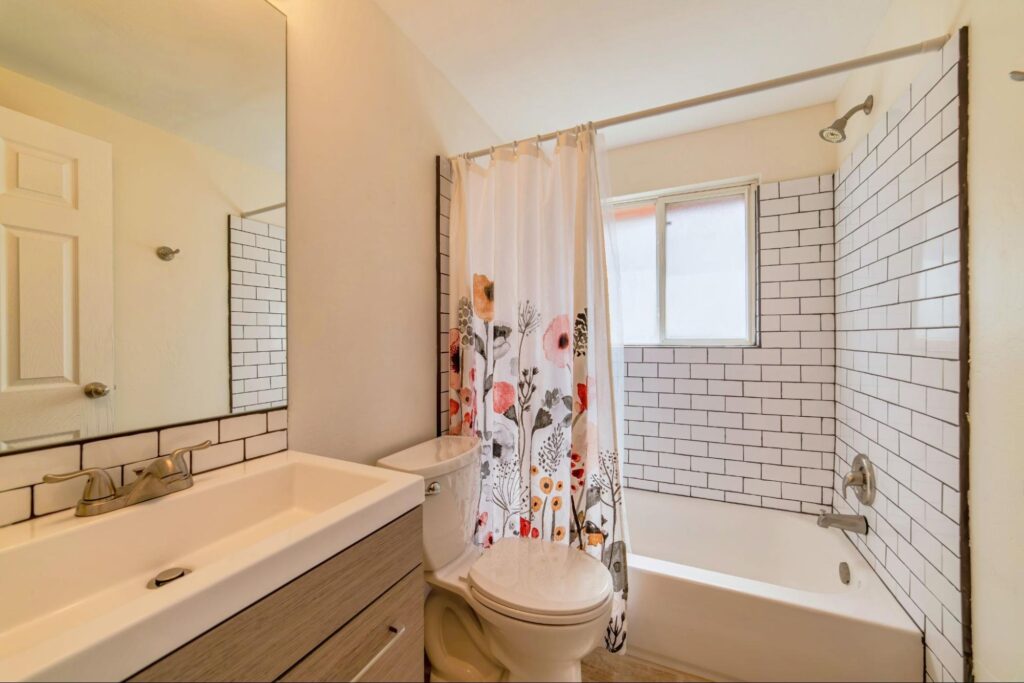
A shower wall window trim kit is a moisture-resistant system designed to surround a window opening within a shower enclosure. Unlike standard trim, it creates a watertight transition between the shower wall and window frame to help protect against water damage.
The primary goals of a shower window trim kit include:
- Protecting the window opening from water intrusion
- Creating a finished, professional appearance
- Reducing maintenance requirements
- Preventing moisture-related damage around the window
- Integrating seamlessly with shower wall surrounds
American Bath Enterprises offers window trim kits specifically designed for use with shower and bathtub surround systems.
Tools and Materials Needed
Before installing a shower window trim kit, gather the necessary materials:
- Shower window trim kit
- Tape measure
- Level
- Utility knife or saw (if trimming is required)
- Silicone sealant approved for wet areas
- Caulk gun
- Cleaning supplies
- Safety glasses and gloves
Always follow the manufacturer’s installation instructions for your specific shower window trim kit.
Step 1: Measure the Window Opening
Accurate measurements are essential for a proper fit.
Measure:
- Window width
- Window height
- Window depth
- Any variations in wall thickness
Make sure to take measurements in multiple locations because window openings are not always perfectly square.
Step 2: Prepare the Surface
The installation area must be clean, dry, and free from debris. Remove any existing trim, old caulk, or damaged materials around the window opening. Inspect the area for signs of moisture damage and address any issues before proceeding. The shower wall surface should be smooth and properly installed before adding the trim kit.
Step 3: Dry Fit the Trim Components
Before applying adhesive or sealant, place each trim piece into position to verify fit and alignment.
Check for:
- Proper corner alignment
- Consistent spacing
- Flush contact with wall surfaces
- Adequate coverage around the entire window opening
Making adjustments during the dry-fit stage helps avoid installation problems later.
Step 4: Install the Shower Window Trim Kit
Once the fit has been verified, install the trim components according to the manufacturer’s specifications. Carefully position each section and ensure it sits squarely against the wall and window frame. Work methodically around the opening to maintain even spacing and alignment.
Also, take extra care around corners and joints, as these areas are often the most susceptible to water infiltration.
Step 5: Apply Waterproof Sealant
After the trim kit has been installed, apply a continuous bead of high-quality silicone sealant around all seams and transitions.
Pay special attention to:
- Inside corners
- Window frame connections
- Wall-to-trim joints
- Any potential water-entry points
Proper sealing helps create a watertight barrier that protects the wall system from moisture exposure.
Step 6: Allow Proper Cure Time
Most sealants require a curing period before the shower can be used. Follow the sealant manufacturer’s recommendations and avoid exposing the installation to water until the curing process is complete. Rushing this step can compromise the waterproof seal and reduce the lifespan of the installation.
Common Mistakes to Avoid
- Incorrect measurements
- Insufficient sealing
- Ignoring drainage considerations
- Using standard interior trim
Why Professional Installation Is Often the Best Choice

While installing a shower window trim kit may appear straightforward, achieving a truly watertight installation requires experience, precision, and attention to detail. Professional installers understand how to accurately measure the window opening, apply proper waterproofing techniques, and create secure seals that help prevent moisture intrusion.
They also know how to properly integrate the trim kit with surrounding shower wall systems to create a cohesive, finished appearance while maintaining long-term protection against water damage. A professionally installed shower wall window trim kit can help prevent leaks, protect your investment, and provide lasting performance and visual appeal for years to come.
Choose American Bath Enterprises Shower Window Kits
When upgrading a shower with a window opening, selecting the right trim system is just as important as the installation itself. American Bath Enterprises Shower Window Trim Kits are designed specifically for bathroom environments and are engineered to complement shower wall surround systems while helping protect against moisture intrusion.
For homeowners seeking the best results, professional installation through American Bath Enterprises helps ensure the trim kit is properly fitted, sealed, and integrated into the shower system for lasting performance and peace of mind.
Frequently Asked Questions
Can I install a shower window trim kit myself?
Some homeowners choose to install a shower window trim kit themselves, but proper waterproofing and sealing are critical. Professional installation can help reduce the risk of future leaks and moisture damage.
What is the purpose of a shower wall window trim kit?
A shower wall window trim kit creates a finished appearance around a shower window while helping protect the surrounding wall system from water intrusion.
How long does a shower window trim kit last?
When properly installed and maintained, a quality shower window trim kit can provide many years of reliable performance and moisture protection.