How to Repair Water-Damaged Shower Walls

Water damage is extremely common, especially on tiled shower walls. If you have an older home, chances are that the tile was installed directly on top of the drywall. The problem is that there is no waterproof barrier between the tile and the drywall. So, any moisture that gets between the tile’s grout joints will impact the structural integrity of the drywall.
Even in homes where a moisture barrier is used, water damage is still possible. Improperly maintained grout joints allow moisture to seep beneath the tile, which can cause the tiles to loosen. Poor grout and caulking can also lead to excess moisture, which can cause mold and mildew, as well as wood rot and even a water leak.
If you’re facing water-damaged walls, keep reading for all of the information you need to know for shower wall repair.
Evaluate the Damage
Before beginning the shower repair process, the first thing you’ll want to do is evaluate the damage. You’ll need to determine what caused the water damage, which is most likely attributed to loose tile, missing grout between tiles, or missing caulk. All of these issues allow water to penetrate the wall.
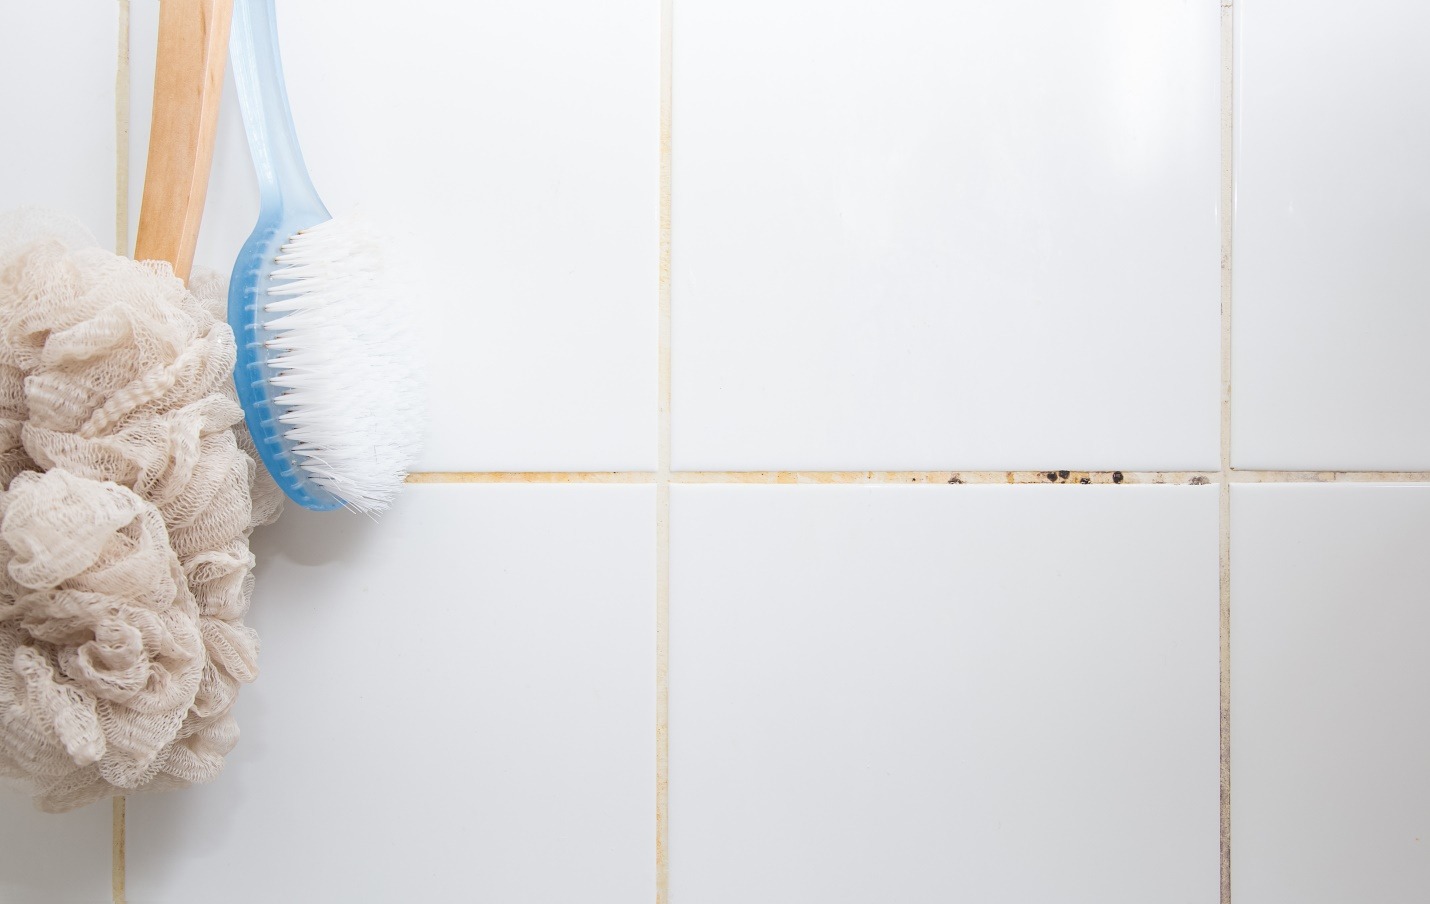
When determining the cause of water damage, look toward the bottom of the shower wall where the tile and the shower base meet. Some of the tell-tale signs of moisture include:
- Mold
- Loose tile
- Discolored grout
- Peeling caulk
Depending on the cause of the water damage, the fix may be as simple as re-grouting the tiles or adding a new line of caulk. In the event that there are no issues with the tile, grout, or caulk, water damage may be caused by leaking pipes in the wall.
Remove Tiles & Damaged Drywall
Once you’ve identified the cause and location of the damage, the next step is to remove the affected tiles. You may be able to remove the tiles by hand, but it’s often easier to use a putty knife or a small pry bar to pull the tiles from the drywall.
When removing tiles, do so slowly and gently in order to avoid cracking them. Once tiles are removed, place them in a bucket of warm water and household cleaner. This way, the tiles can be properly cleaned and reinstalled.
If a large amount of the tiles are damaged, it may be ideal to research shower enclosure kits, which are much easier to install and more durable than tile alone.
After all of the affected tiles have been removed, the next step is to cut out any soft, damaged drywall. This can be removed by hand. You’ll then want to cut straight lines in the remaining, intact drywall using a wallboard saw or utility knife. Then remove any screws or nails and clean any exposed wood studs that are wet or show signs of mold using a water-bleach solution.
Install Cement Board Patch
The next step is to cut and install a cement board patch. The patch should be sized to fit the area where the damaged drywall was removed. When choosing a cement board patch, ensure you’re using the same thickness as the existing drywall.
Cut the cement board to fit the cutout drywall with a ¼ inch gap on the sides. Using cement board screws, fasten the cement board to the studs. Then, apply self-adhesive mesh cement board joint tape to the cement board joints.
Mix thin-set adhesive to fill in the seams around the patch. Ensure the seam is flat and smooth so that the tile will be flat on the wall. Let thin-set dry completely.
Reinstall Tile & Caulk

You’re almost done! The last steps are to reinstall the shower tiles and then caulk and grout. Mix more thin-set adhesive and apply it to the wall using a notched trowel. Set the tiles into the adhesive, making sure to align the grout joints with existing shower wall tile. You can use spacers for uniform grout lines.
Allow adhesive to dry, and then grout the tile using grout that matches the existing tile. Don’t grout between the bottom row of tiles and the shower pan. Let grout set and harden as directed.
Once the grout has set, seal grout lines. After the sealer has dried, caulk the joints, including the gap between the tile and shower pan. Use 100% silicone caulk, as this will keep water out of the shower wall to prevent future damage.
Need a Total Shower Renovation? We Can Help
If your shower walls have been damaged beyond repair, a total shower replacement may be needed. At American Bath Enterprises, Inc, we sell a variety of shower enclosures, as well as bathroom shower stalls. While shower replacement may seem like an overwhelming project, we make the process easier than ever before with our high-quality, long-lasting shower wall kits.
Contact our team today at (888) 228-4925 to discuss your bathroom needs.


